Front-End Web & Mobile
Test iOS apps on AWS Device Farm using Appium – Part 3: Upload your iOS Application and TestNG tests to AWS Device Farm
With AWS Device Farm, you can quickly get started testing your Android, iOS, and FireOS apps on real devices in the AWS cloud. Simply upload your app, choose your test framework and the devices you want to test your app on, and start your test run. AWS Device Farm will provide the results of your tests including pass / fail status, logs, performance characteristics, and screenshots.
Previously in Part 1 and Part 2 of this series, you set up your environment, created and validated your TestNG tests, and packaged your TestNG tests for upload to AWS Device Farm. In Part 3, you will upload the sample iOS app (an unsigned ipa file you downloaded as part of the prerequisities section in Part 1) and the TestNG package you created in Part 2.
Upload the sample iOS app and TestNG suite to AWS Device Farm
We now have the sample iOS app (ToDoList.ipa) you downloaded and the TestNG package (zip-with-dependencies.zip) that contains our test code and test dependencies. To begin testing iOS apps on AWS Device Farm, you will need an .ipa (iOS app archive) file, which you will upload to AWS Device Farm. Make sure when you create your own iOS apps, your .ipa file is built for an iOS device and not for a simulator. You do not need to add any UDIDs to your profile as Device Farm will resign your app automatically (See the FAQ for more info).
Follow the Getting Started steps to begin testing with AWS Device Farm. You will upload the iOS app (.ipa file), configure your test type (choose Appium with TestNG), and upload the zip-with-dependencies file that was created as part of the Maven build in Part 2 of this series.
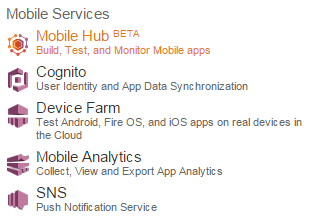
Log into your AWS Account and navigate to the AWS Device Farm console under the Mobile Services category.
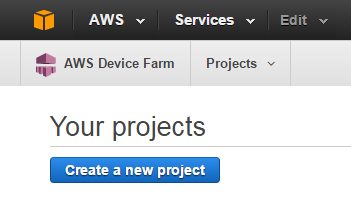
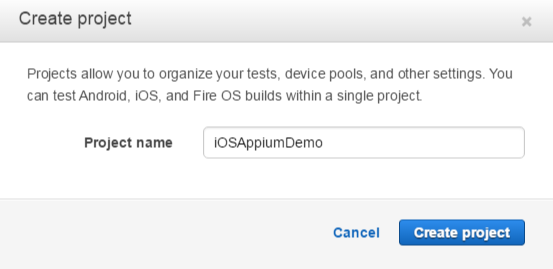
Create a new project if you do not have an existing one. A project is a logical workspace for your test runs.
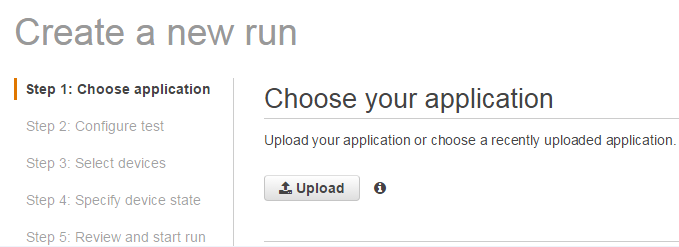
Once you have created a project, click on it and create a run. A run represents a test of a specific build of your app, with a specific set of tests, to be run on a specific set of devices. Each test run will produce a report containing information about the results of the run.
Browse to the location of the ipa file you downloaded in Part 1 and upload.
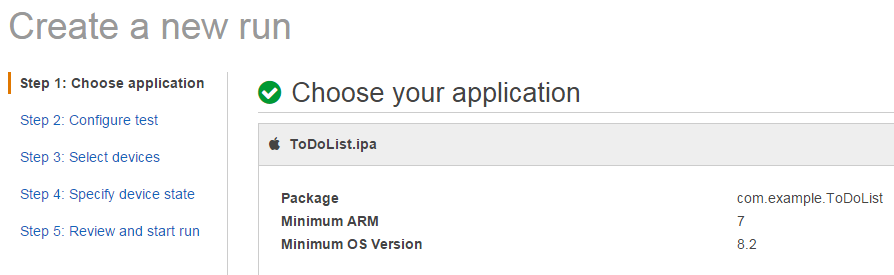
Once the app has successfully uploaded, proceed to configure the test type. For this example, we will select Appium Java TestNG. Note that the Appium Java TestNG framework is currently in preview mode.
Upload the zip-with-dependencies zip file that was created in Part 2 of this series. This can be found in the “target” folder of the Maven project in the workspace location where you have stored your Eclipse projects.

Select the devices that are compatible with the app for testing. For this example, we will use a curated list of devices called Top Devices that AWS Device Farm has pre-selected for us. You have the option of selecting other devices by creating a new device pool.

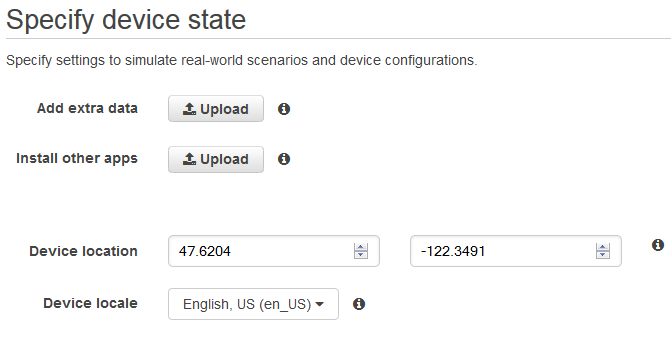
The next step prompts you to specify device states to override any device settings. This allows you to provide additional data and / or install additional apps for AWS Device Farm to use during the run, specify whether Wi-Fi, Bluetooth, GPS, or NFC will be enabled during the run, preset the device latitude and longitude for the run, and preset the device locale for the run.
Choose “Review and start run.” On the Review and start run page, choose “Confirm and start run” once you have confirmed all details. When your tests have completed, you will be able to drill down into each device to view the results.

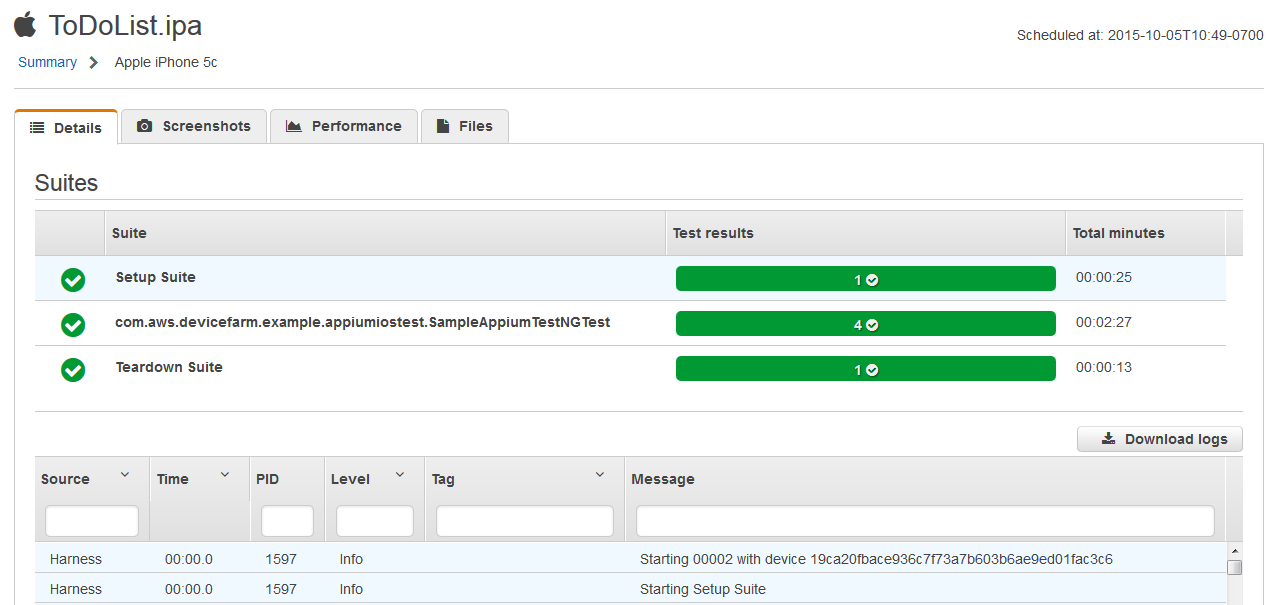
If we click on the first device (Apple iPhone 5c), we can see that our TestNG test suites passed successfully and how much time it took for each to complete.
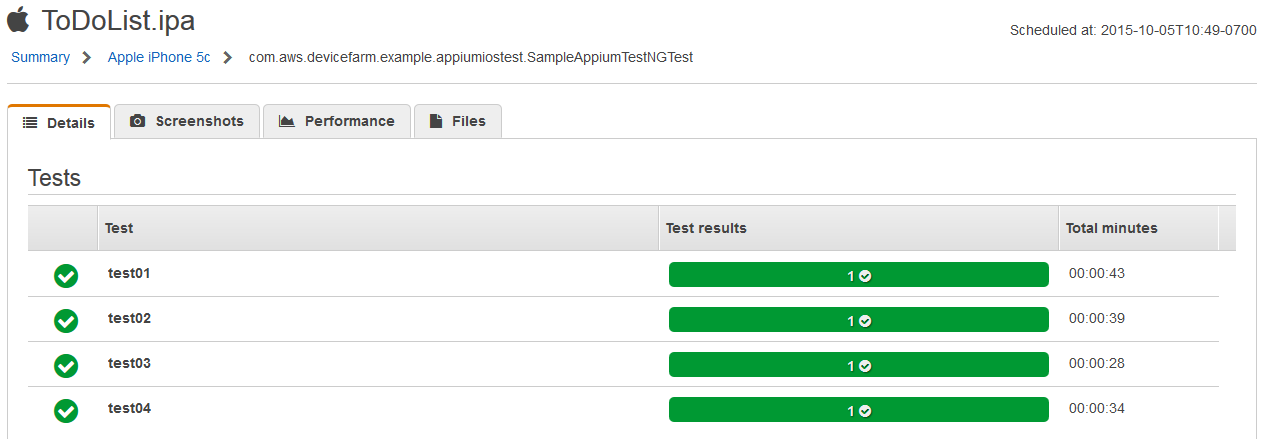
Based on the TestNG test suite we created in Part 1, you can see that each method that is part of the “com.aws.devicefarm.example.appiumiostest.SampleAppiumTestNGTest” package has been executed. Further if we click on the package name, you will see the four test cases that were created using the Appium Inspector. For each test case, you can view associated screenshots and download log files.
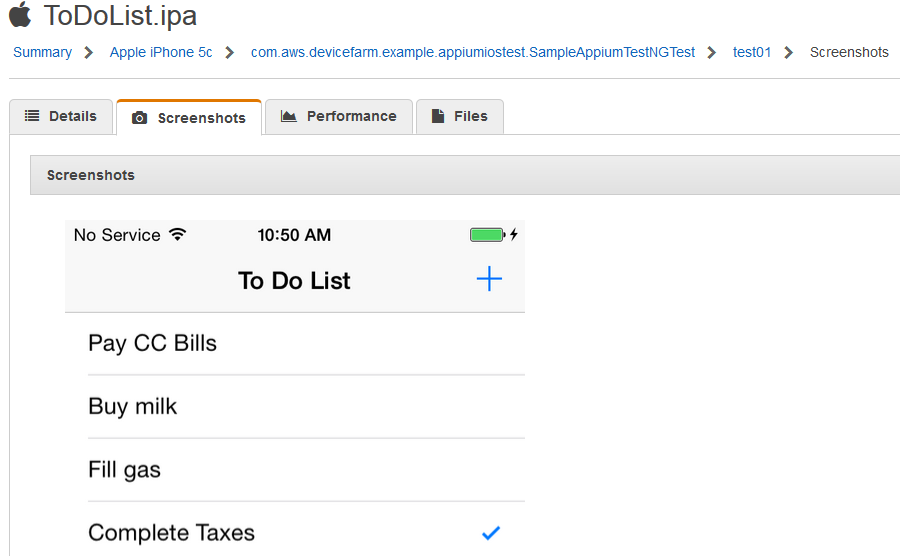
When you click on the “Screenshots” tab, any screenshots that were included in “test01” will be seen.
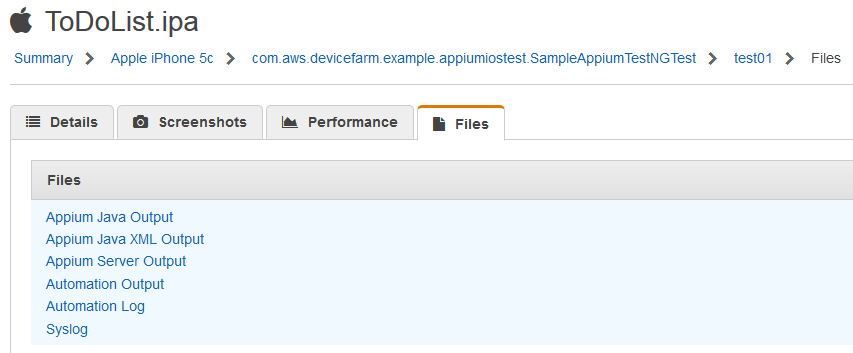
When you go to the “Files” tab, you will see a list of log files that have been generated for the “test01” test. You can click on each log file and download it for review.
Summary
By utilizing AWS Device Farm, you can test your iOS apps across multiple devices in parallel and get results in minutes to quickly understand your app’s behavior on popular devices. Now that you have an understanding of the steps involved in testing your iOS apps with Appium on AWS Device Farm, I’d highly encourage you to begin testing your own iOS apps. No modifications are required to your app or test code – just package your tests, upload, and start testing!
If you have questions or comments, please reach out to us in the comments section below or on our developer forum. We are happy to receive your feedback on AWS Device Farm and how to make testing iOS apps more seamless for you.
Happy Testing!